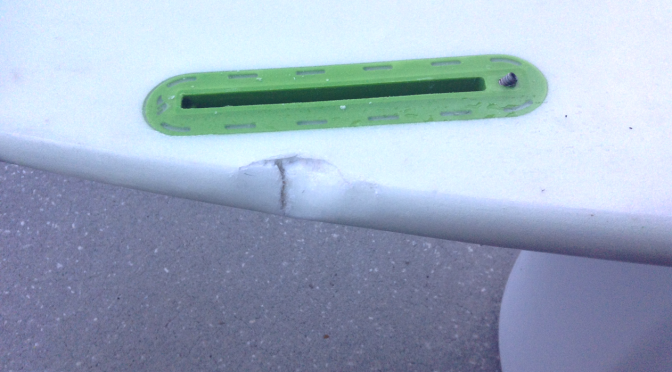
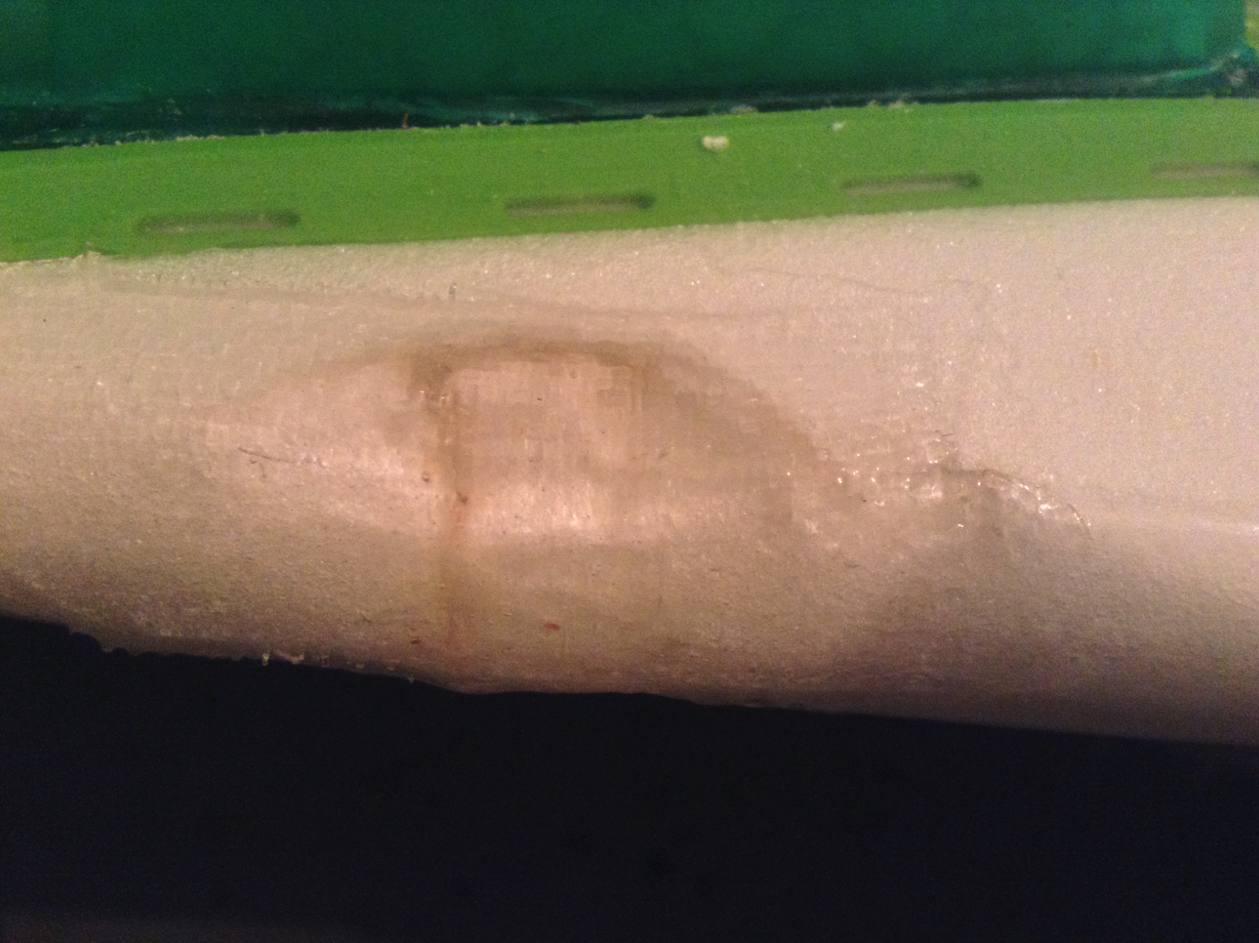
Here is the damage. This board got in a fight with a bigger, thicker board. The bigger thicker rail made contact with this rail while in motion, at a high speed. The bigger board created more damage than this board created. Therefore the bigger board won.
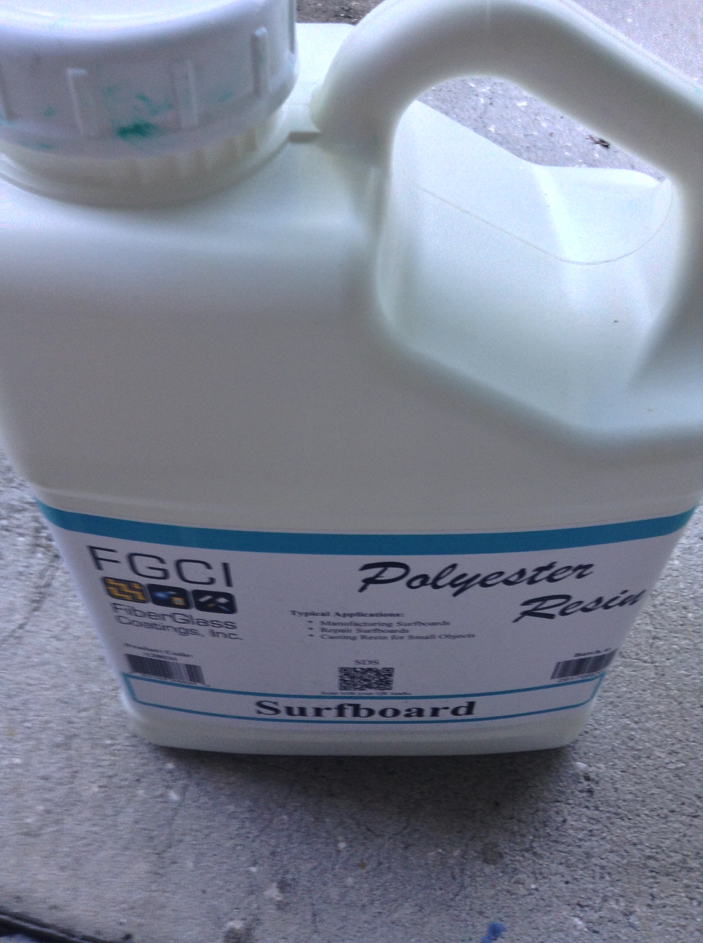
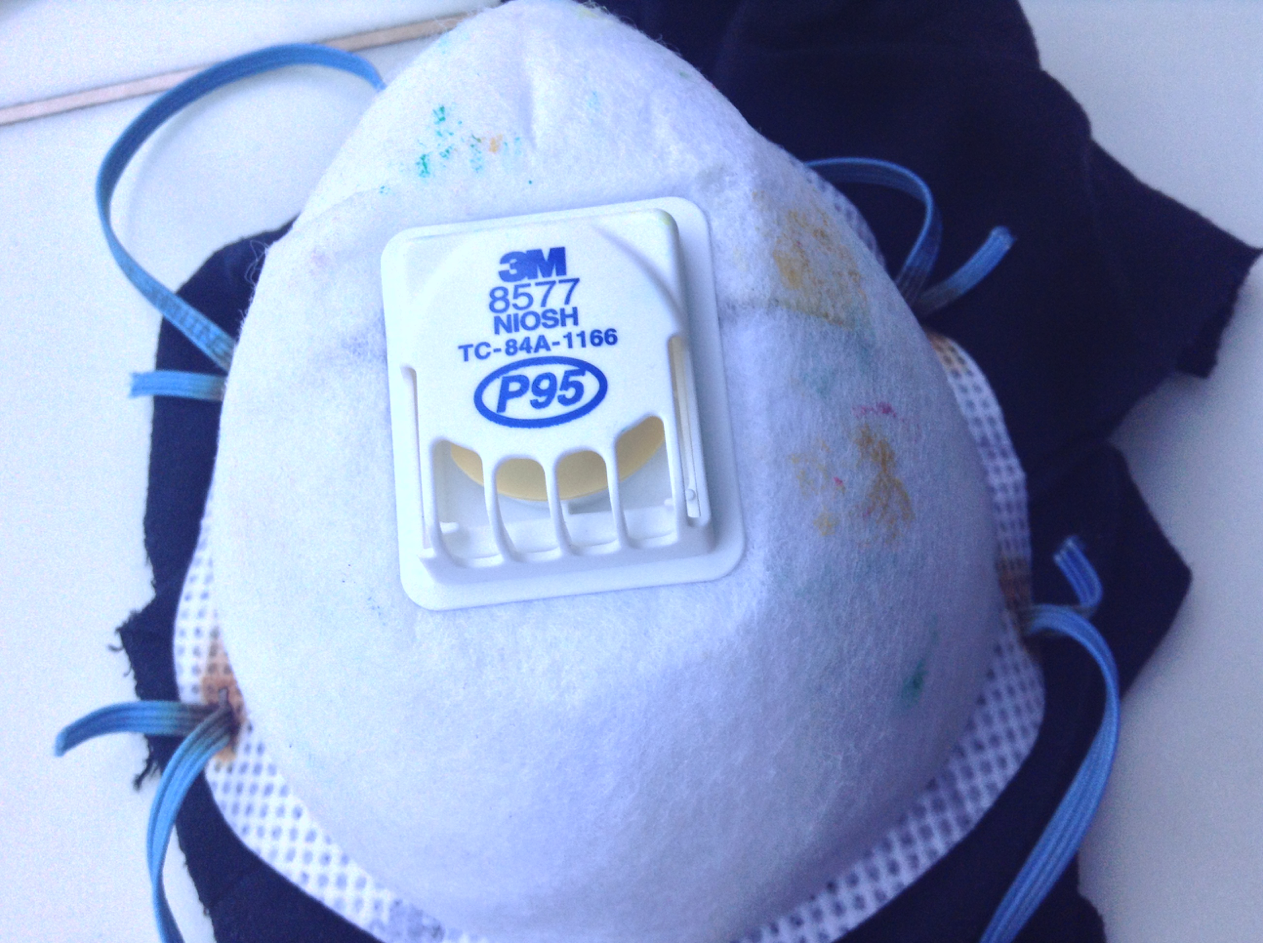
Here in west Florida, services to repair surfboards aren’t easily accessable, at least that I am aware of. There are a few local shapers who are willing to repair boards, but they are far and few in between. Surfboard repair is easy and can be inexpensive. The only supplies that you will need (that are not household supplies) are fiberglass resin, hardener(catalyst), fiberglass cloth, and a fume/particulate mask. Acetone can be used for cleanup, but wasn’t used at all during this repair. Fiberglass resin can only be used on polyurethane foam because it heats while it hardens. All these chemicals are toxic and should be used carefully, following the recommendations on the labels.
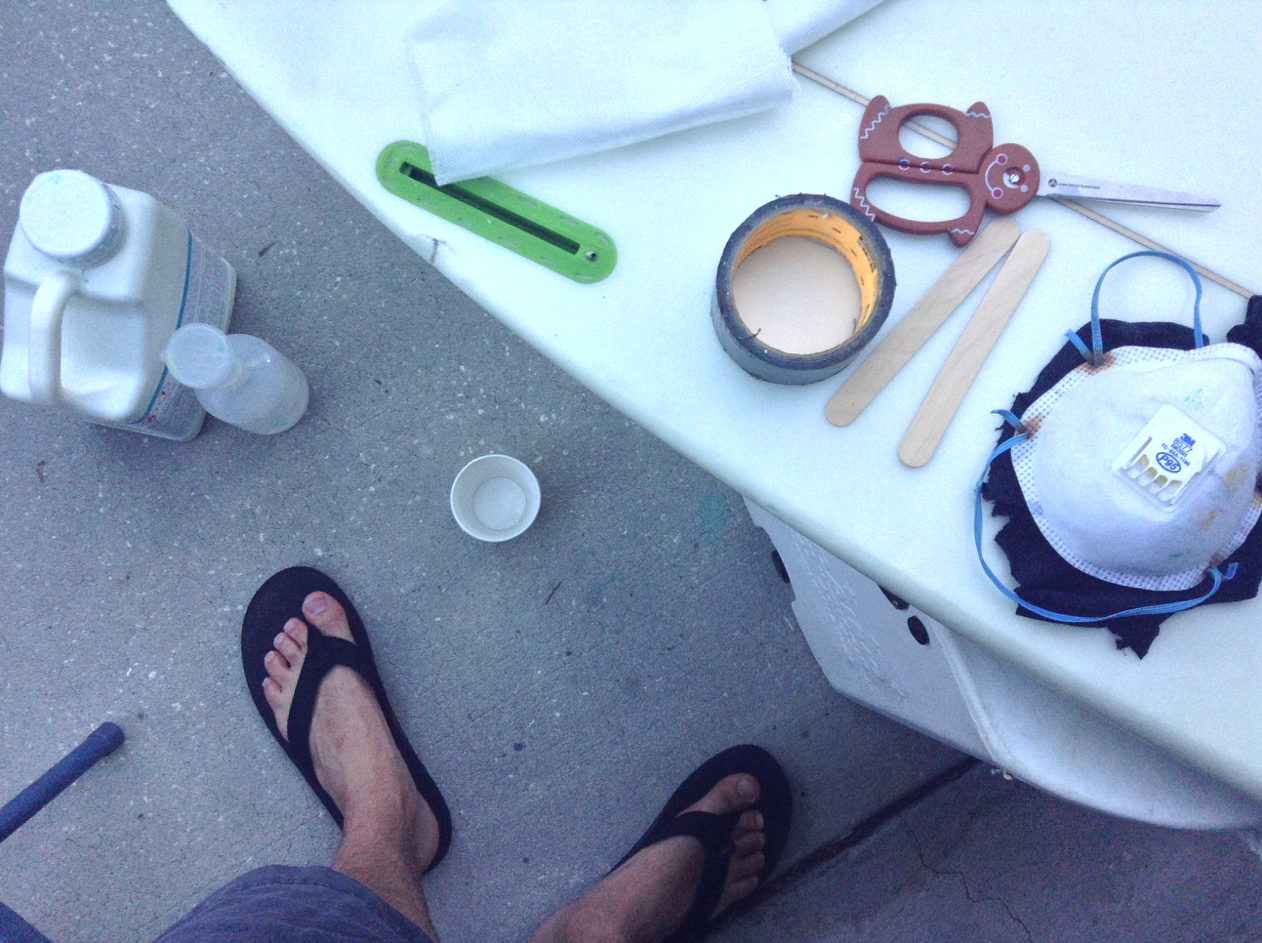
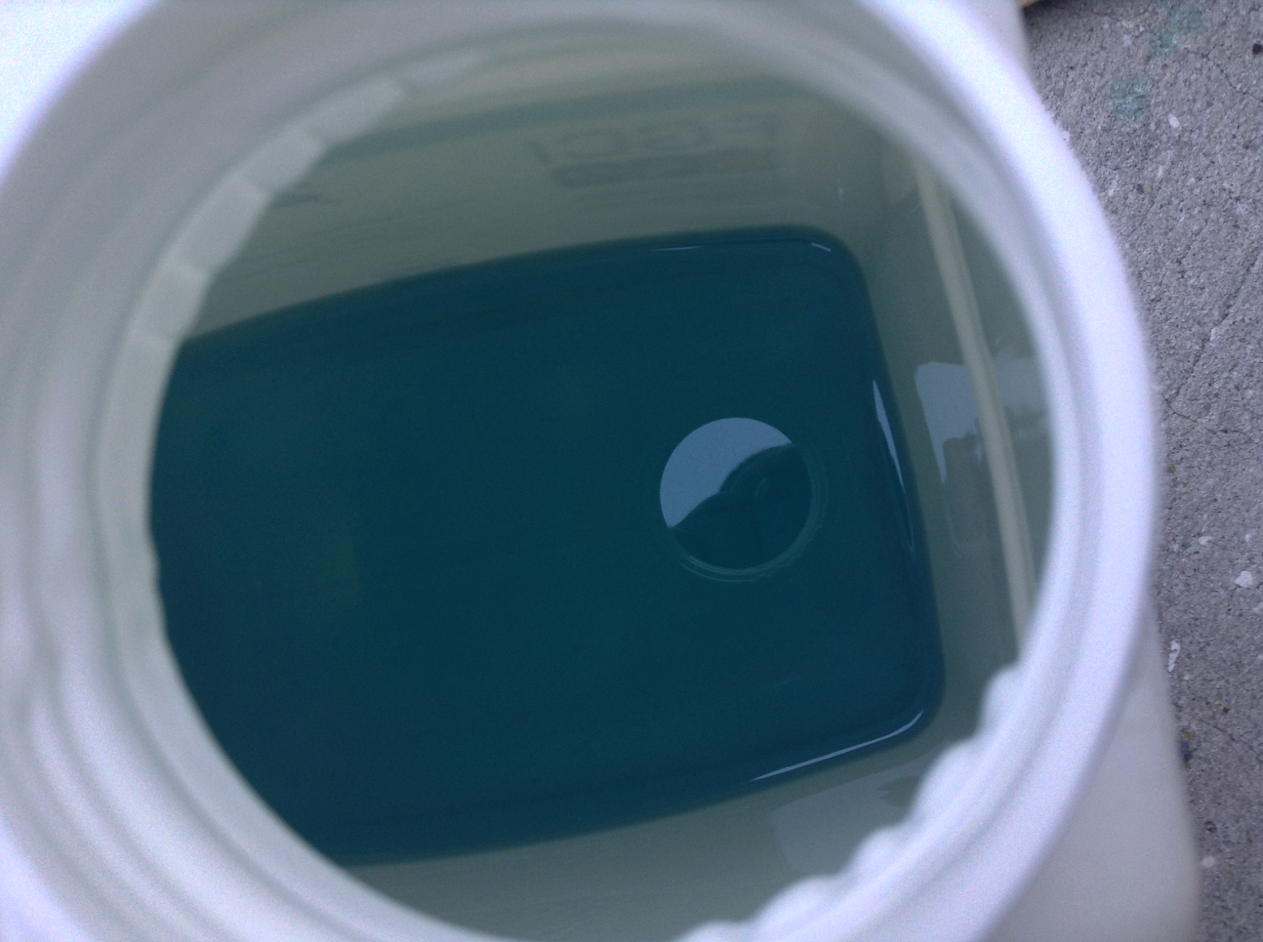
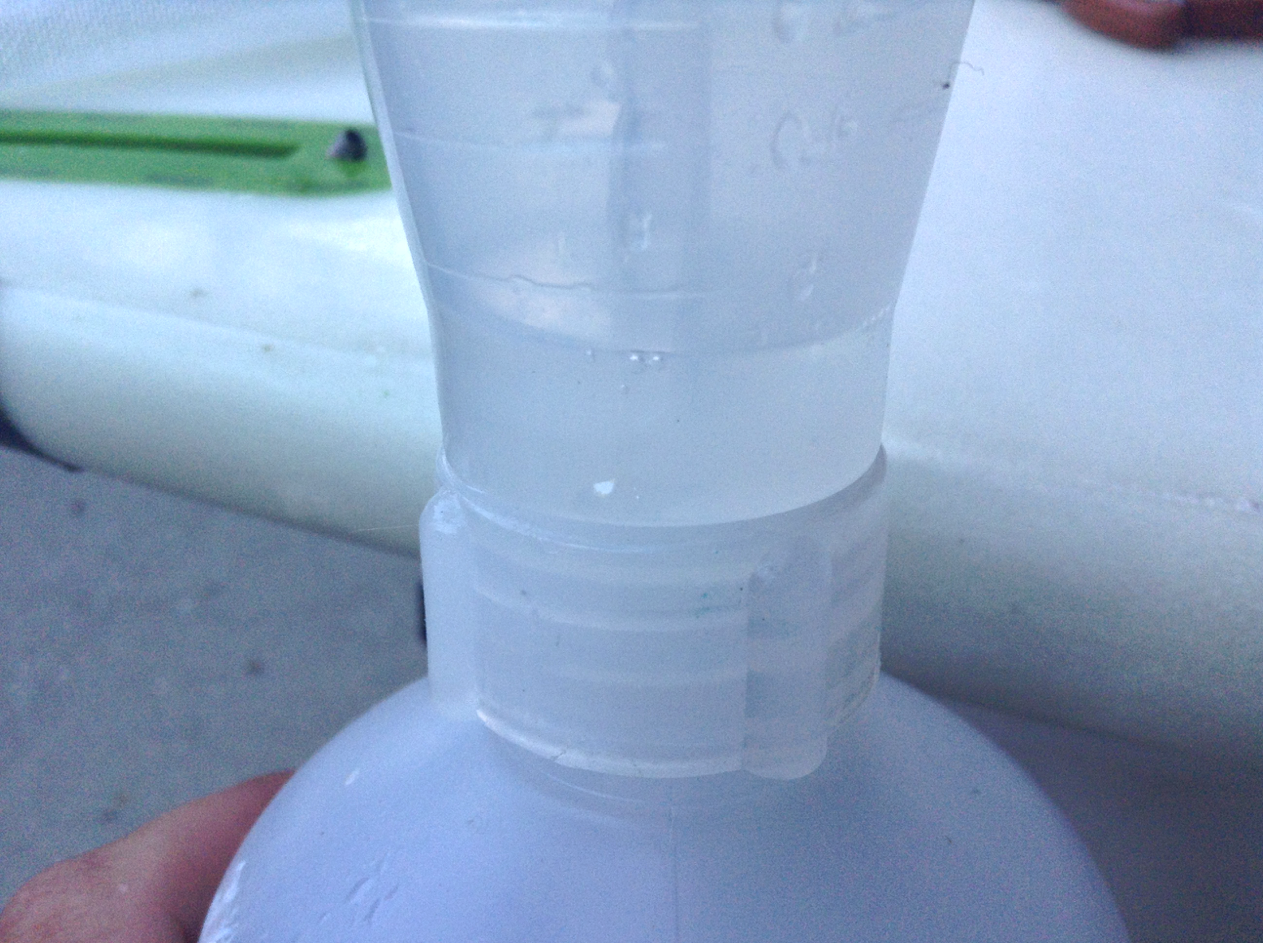
Here are some of the supplies used in this repair:
It’s a good idea to remove the fin if the damage is near the fin.

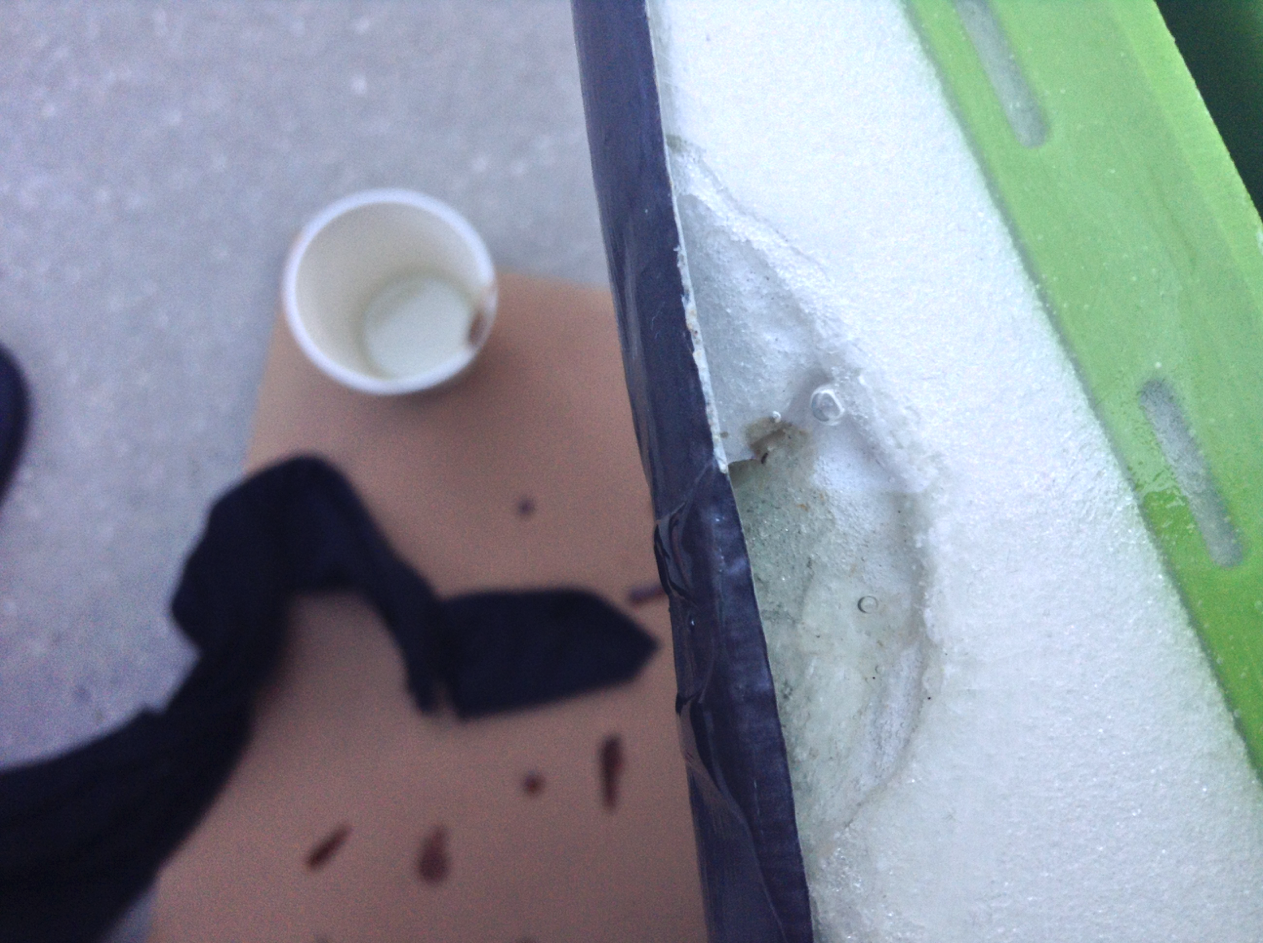
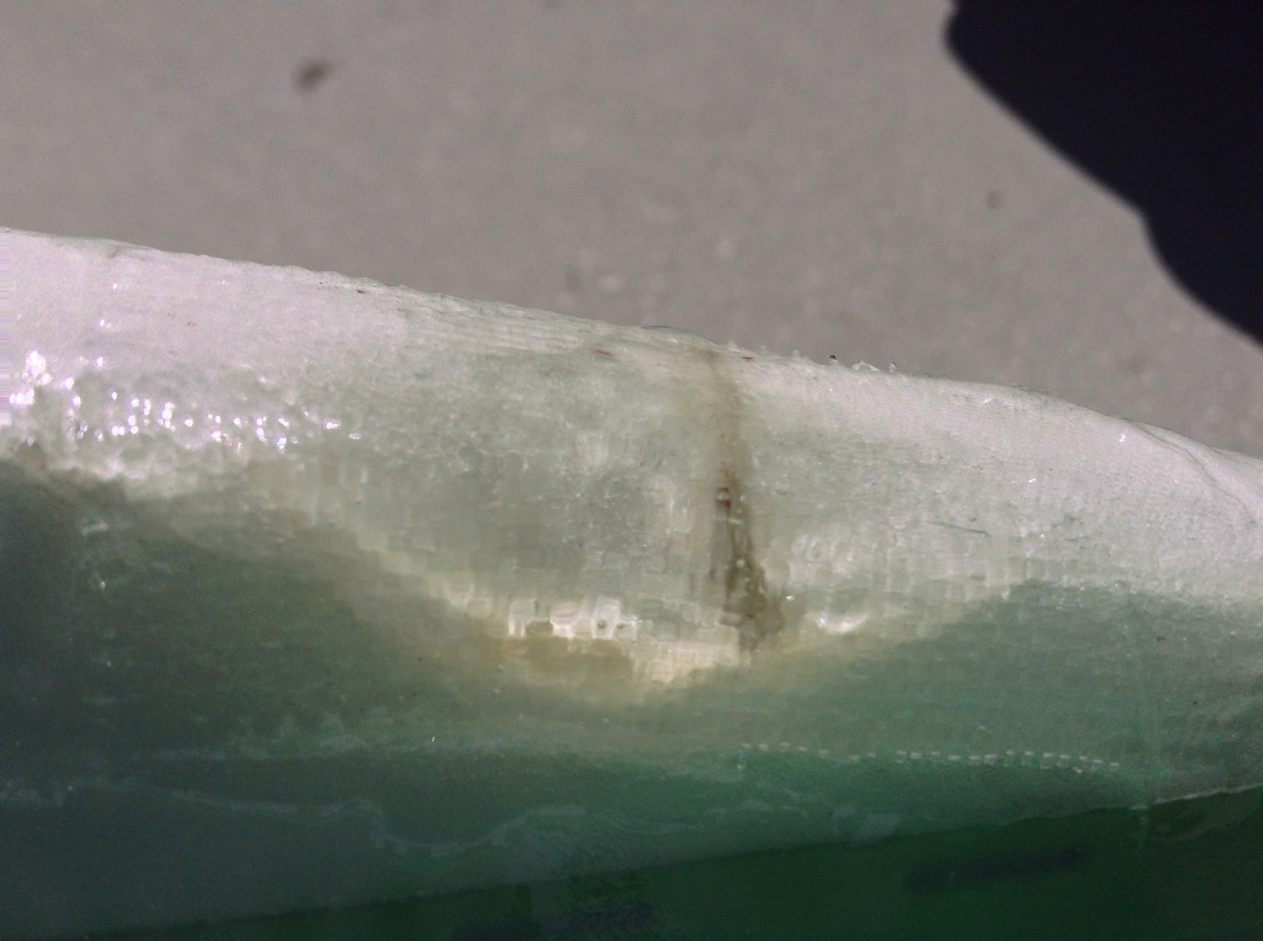
So we have this breakage in the fiberglass on the outside of the foam and an indentation in the foam. There are a couple ways we can approach this damage. One way, the way professionals and people who are in the market of selling fiberglass products will tell you, is to thoroughly clean out the damage. They will tell you to remove the fiberglass that has been pushed into the hole and blow out dust and dustlike foam from the hole. They will tell you to use q-cell as a fiberglass filler and pour this q-cell product into the hole to strengthen the space. This is a good idea for large holes and major damage, but for damage smaller than say 5 inches squared the extra work is just a waste of time. The major benefits of q-cell are increased strength and reduced weight. We recommend just sanding the damaged glass and filling the hole with regular resin.
Step 1: Sand hole and glass just outside the hole. (see note below)
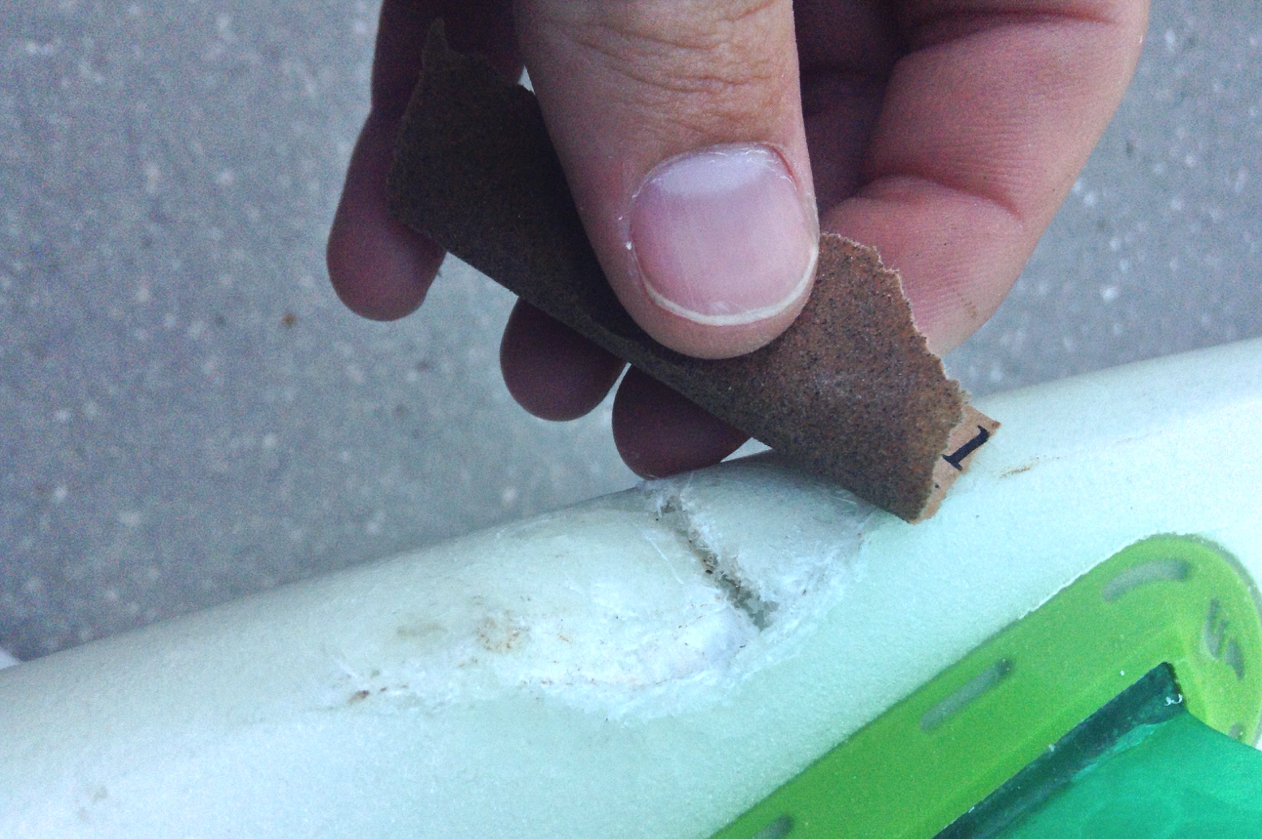
After you sand the area clean excess dust, foam, and sand.
Step 2: Tape the rail. This is to form the fiberglass resin to the space and reduce the amount of sanding required later in the project.

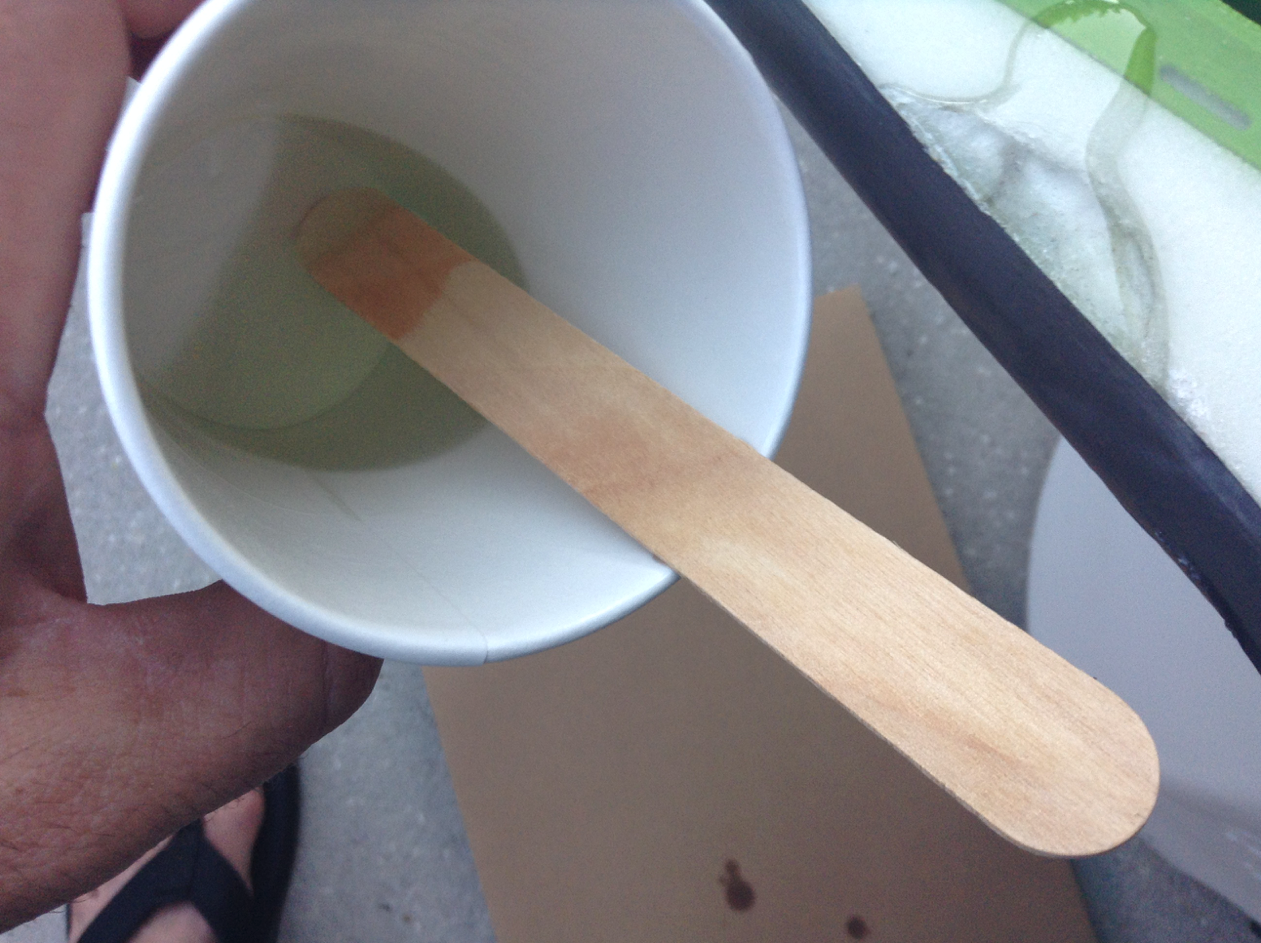
Step 3: Mix and pour. Make sure something is on the ground to catch excess fiberglass.
Now that the fiberglass resin is poured into the crevasse make sure the fiberglass is shaped in the way you want it to harden. Remove excess from the top of the opening. Don’t let any get into the fin box. Remove air bubbles. For this first part use far more hardener than is recommended on the label. This will speed up the repair process. You can use about as much hardener as would be used for a quart of resin, on about a cup of resin.
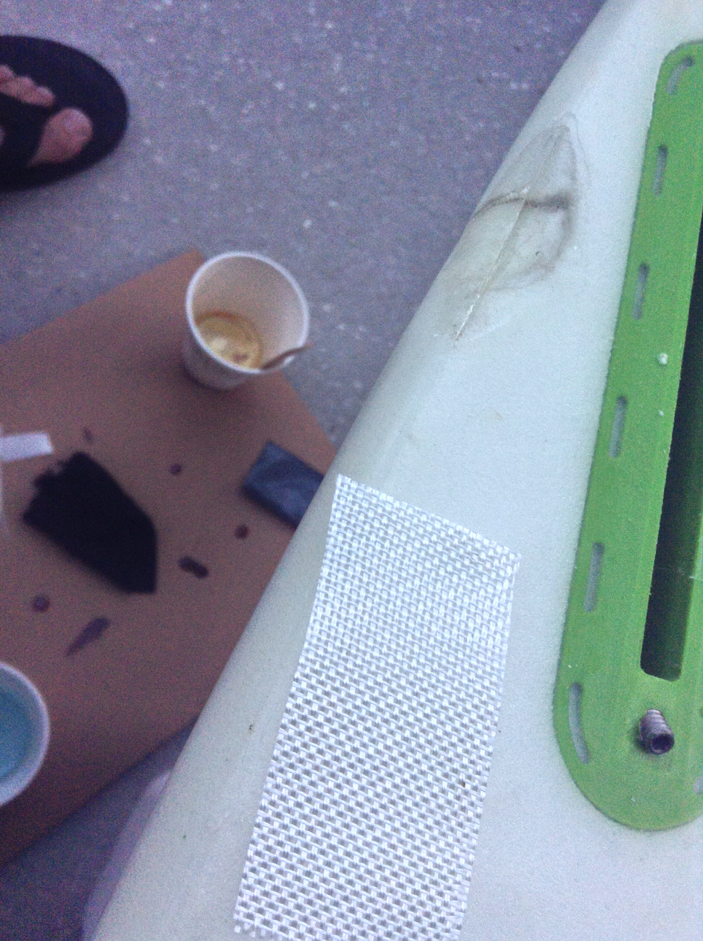
Step 4: Remove tape and cut cloth.
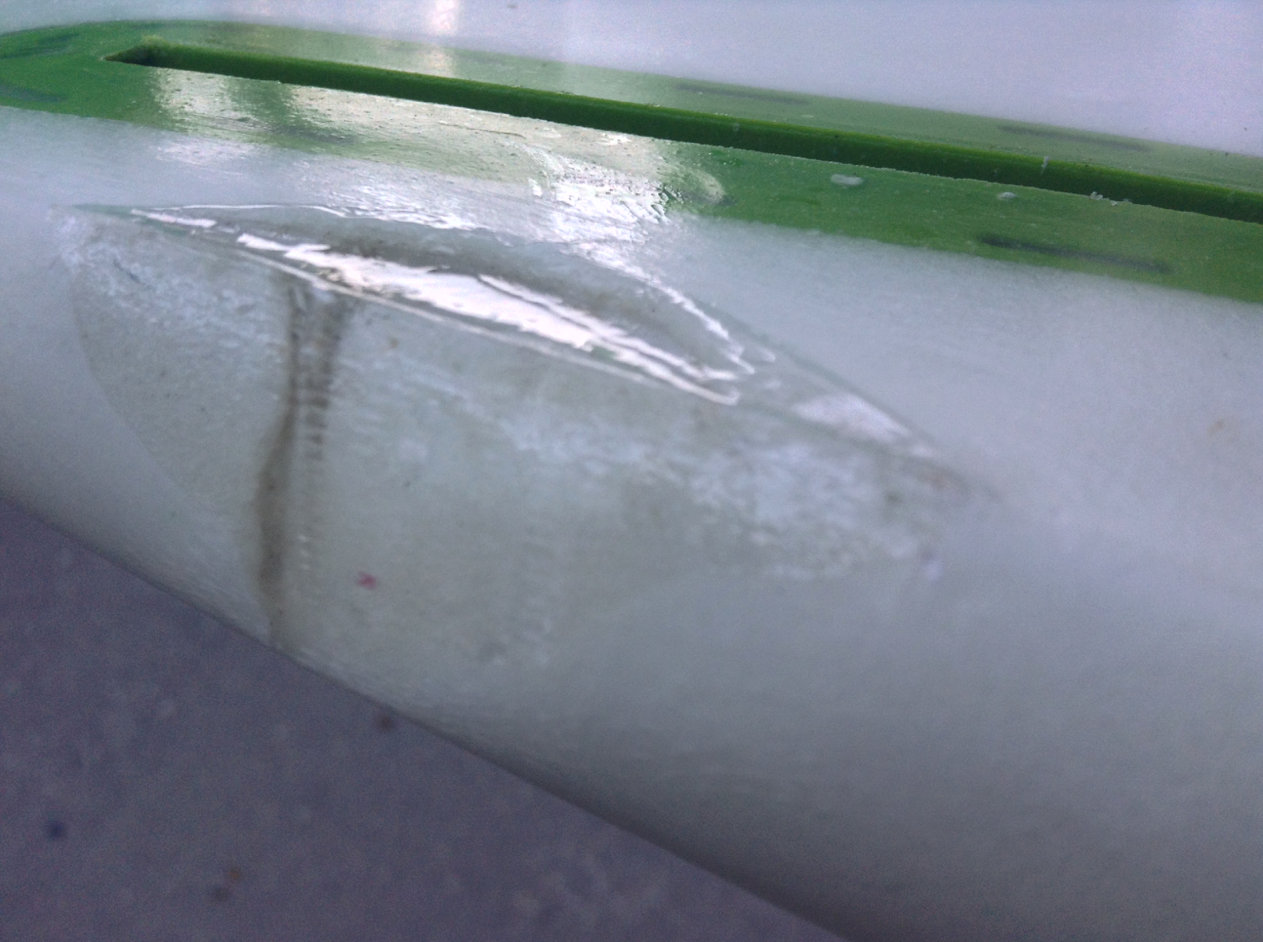
You should now have a repaired rail. You could stop now, but there is a good chance that if you continue to use your board, this fiberglass could crack and pop off. So, to secure the fiberglass in the hole it’s a good idea to lay cloth over the repair. Cloth prevents cracking and secures lamination.
Note:After you remove the tape cut a piece of fiberglass cloth large enough to cover the repair. You should have at the beginning of the process sanded not only the damaged hole, but also the undamaged glass surrounding the hole. A good size to sand around the damage is approximately one half inch. It is important that the glass is sanded (abraded) so that strong adhesion can occur. The cloth you cut should cover the sanded space.

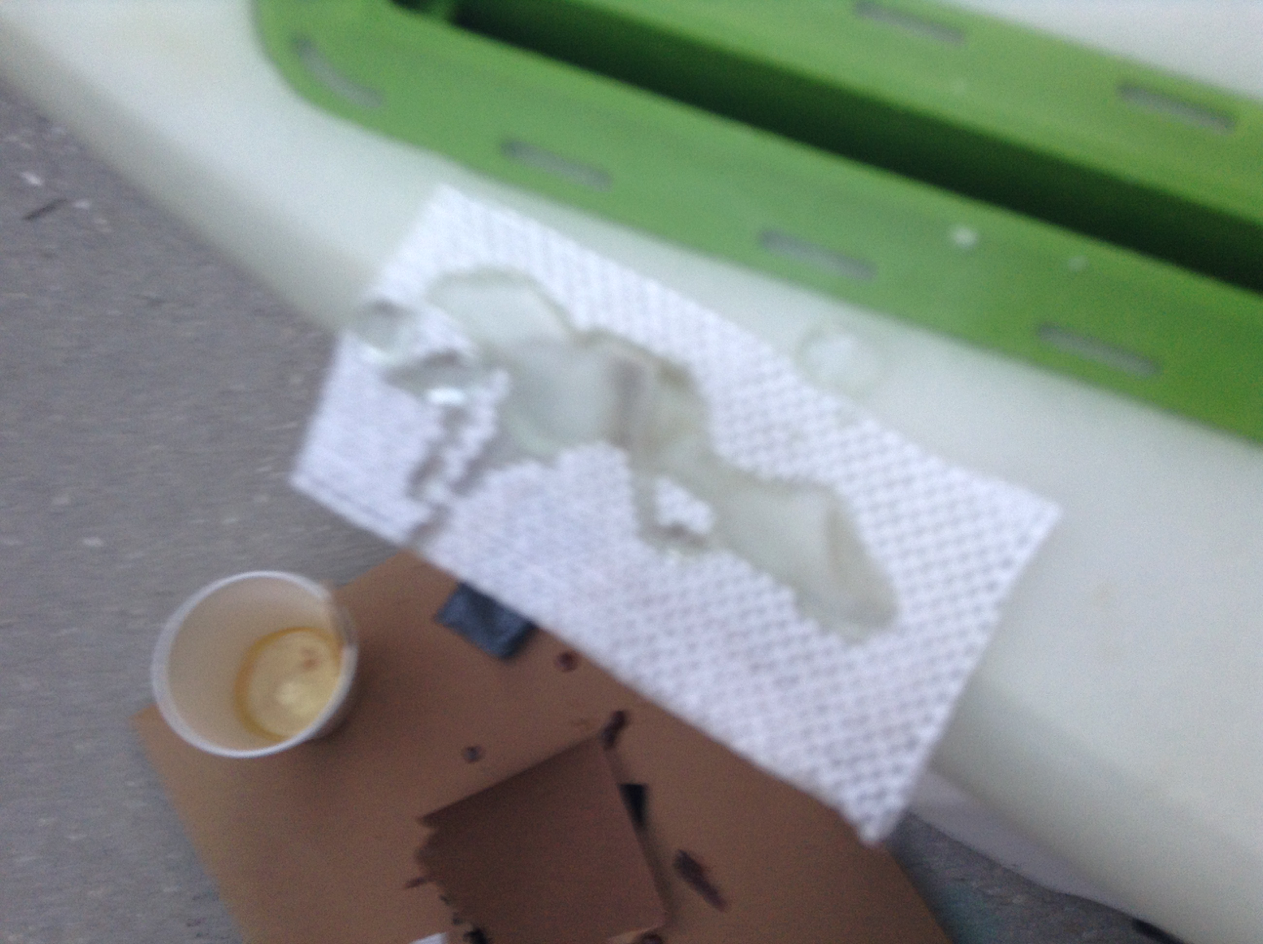
Step 5: Glass the repair.
Make sure to complete this step within 2 hours of pouring the resin into the hole. The resin should be mostly hardened but not completely hardened. The partial hardening will allow binding of the partially hardened resin to this newly glassed part. So you have the cloth cut to size. Simply lay the cloth over the repair, pour the resin, and fit the cloth to the space. For this part use the recommended resin to catalyst ratio.

After the glass and resin has hardened you are nearly done.
Any excess glass can be sanded. Sand down sharp corners or noticeable bumps. This will complete your repair project.


